Scale, detail and the sequence of photographs
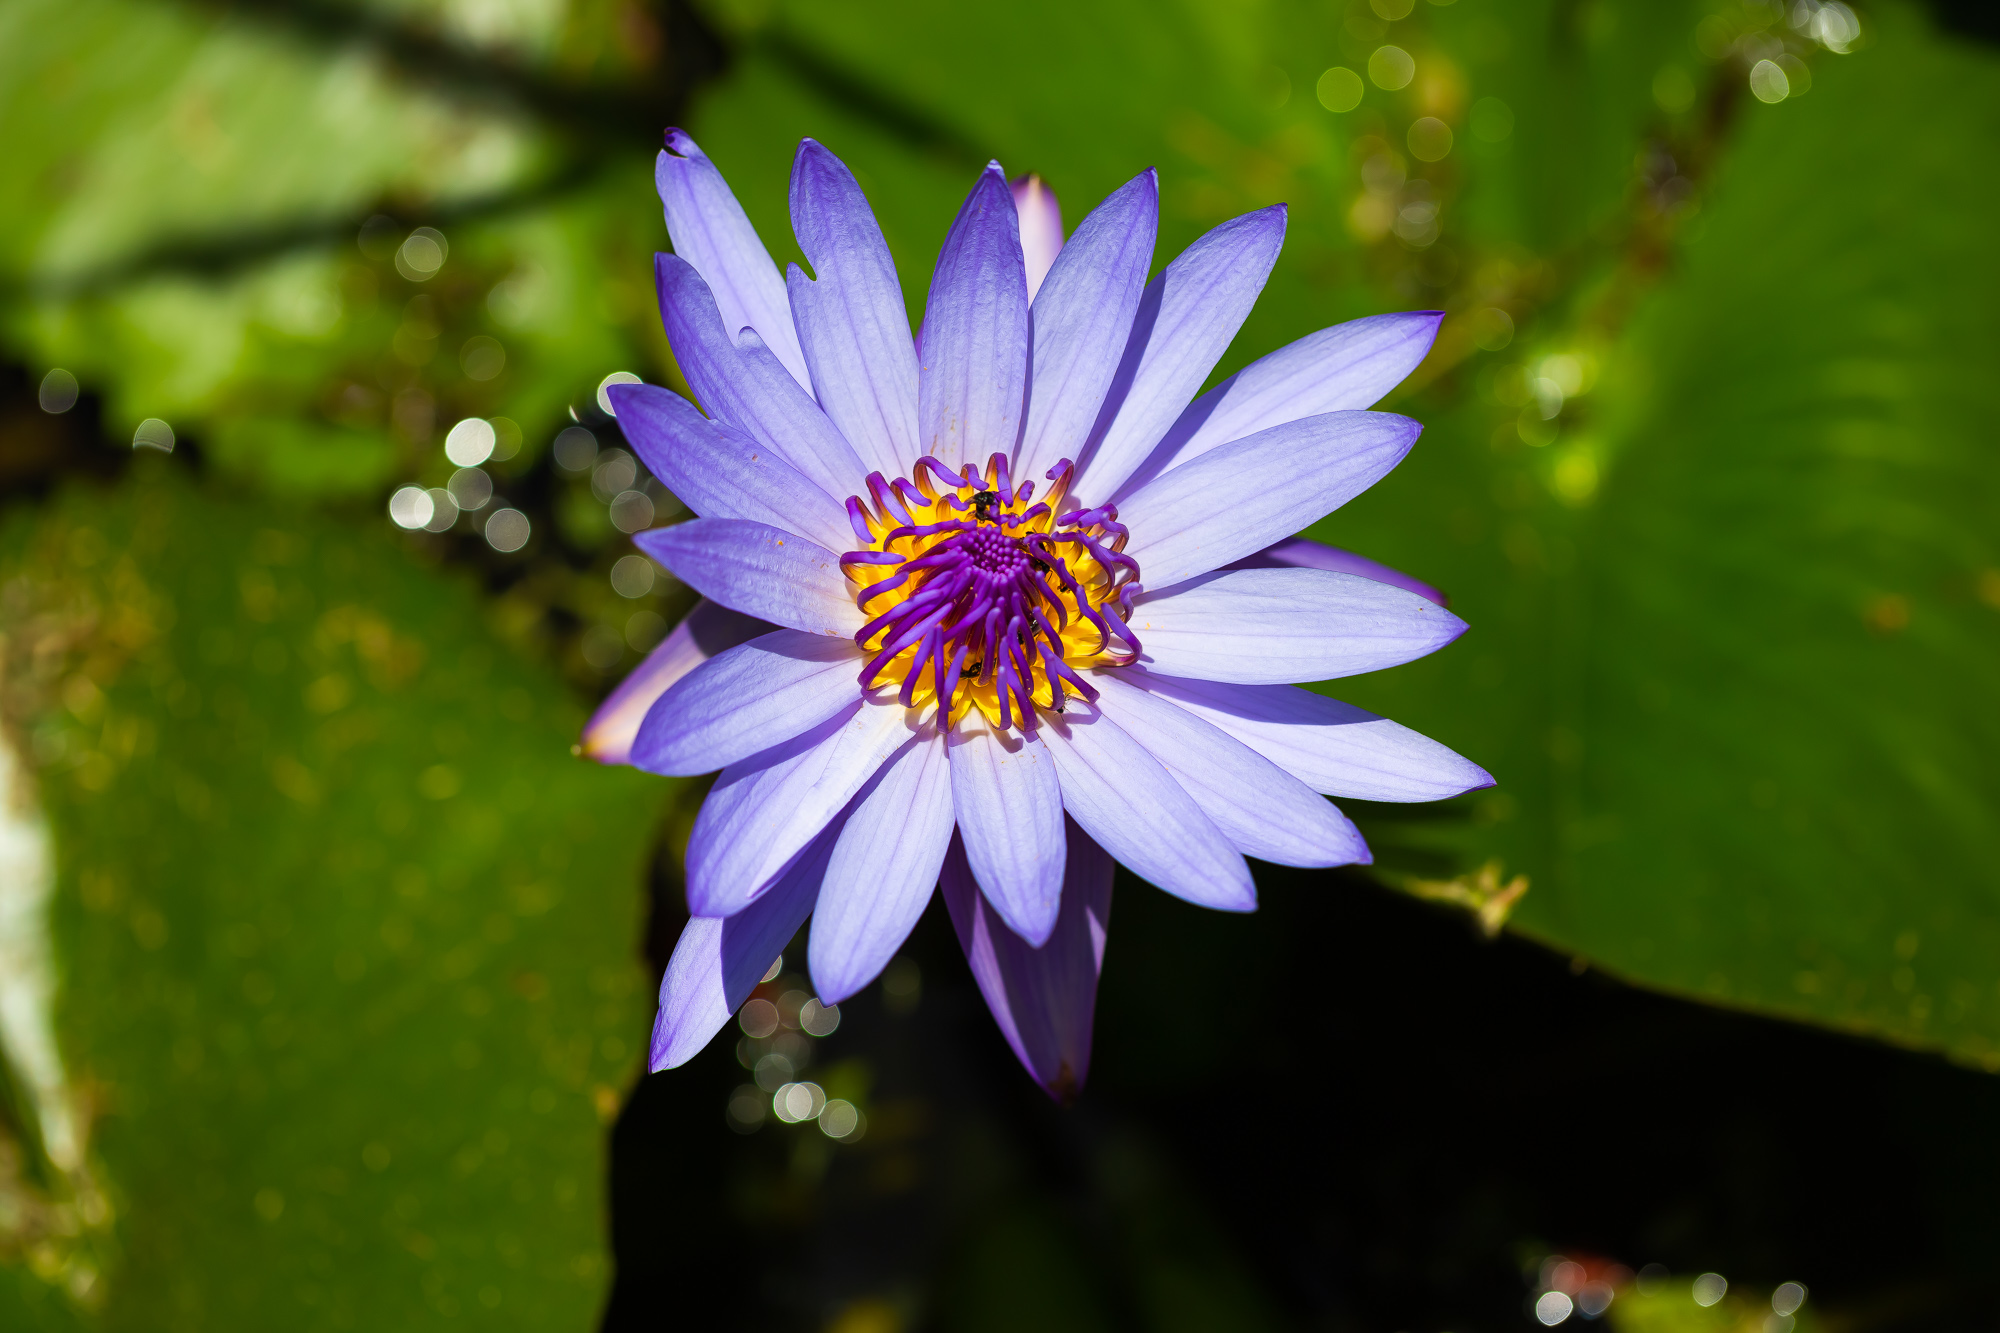
What to photograph matters most when the material will later become an article or publication. A single close-up may be beautiful but tell a reader very little about the plant it came from. A wide view establishes the setting, a closer view identifies the subject, and a final close-up reveals features that are not obvious in the earlier photographs.
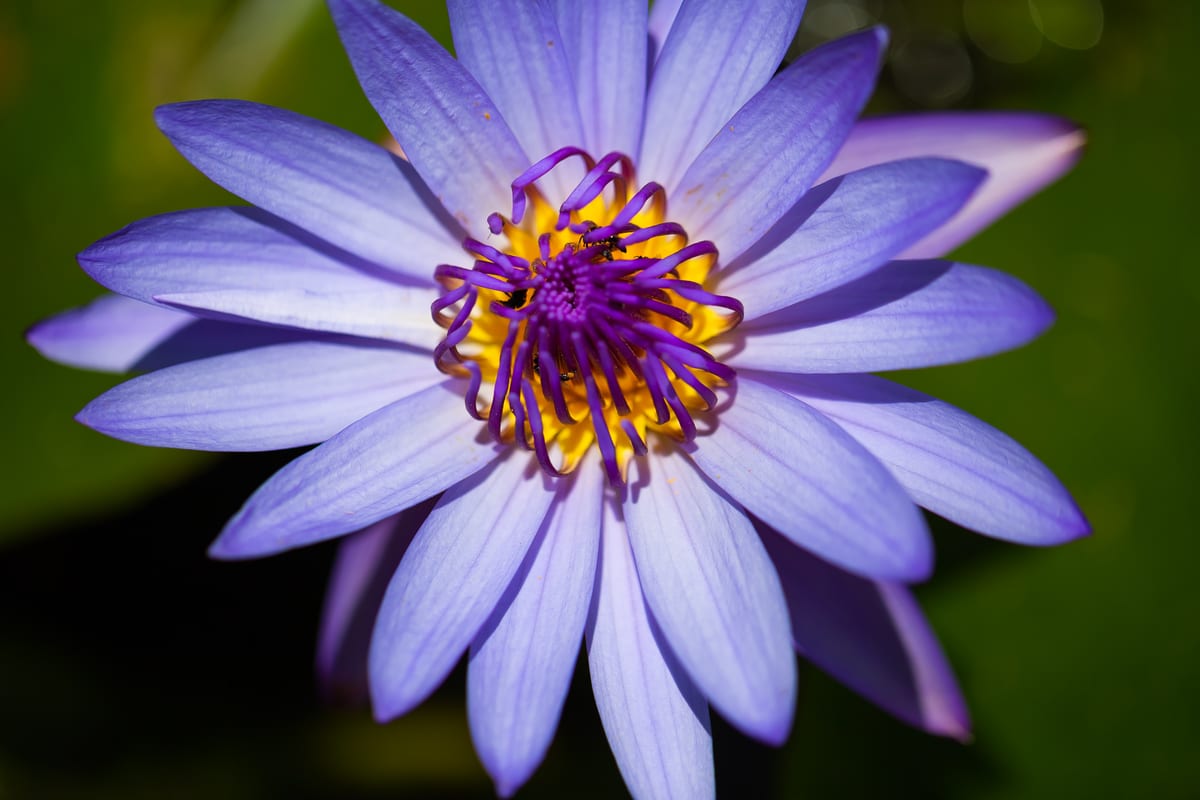
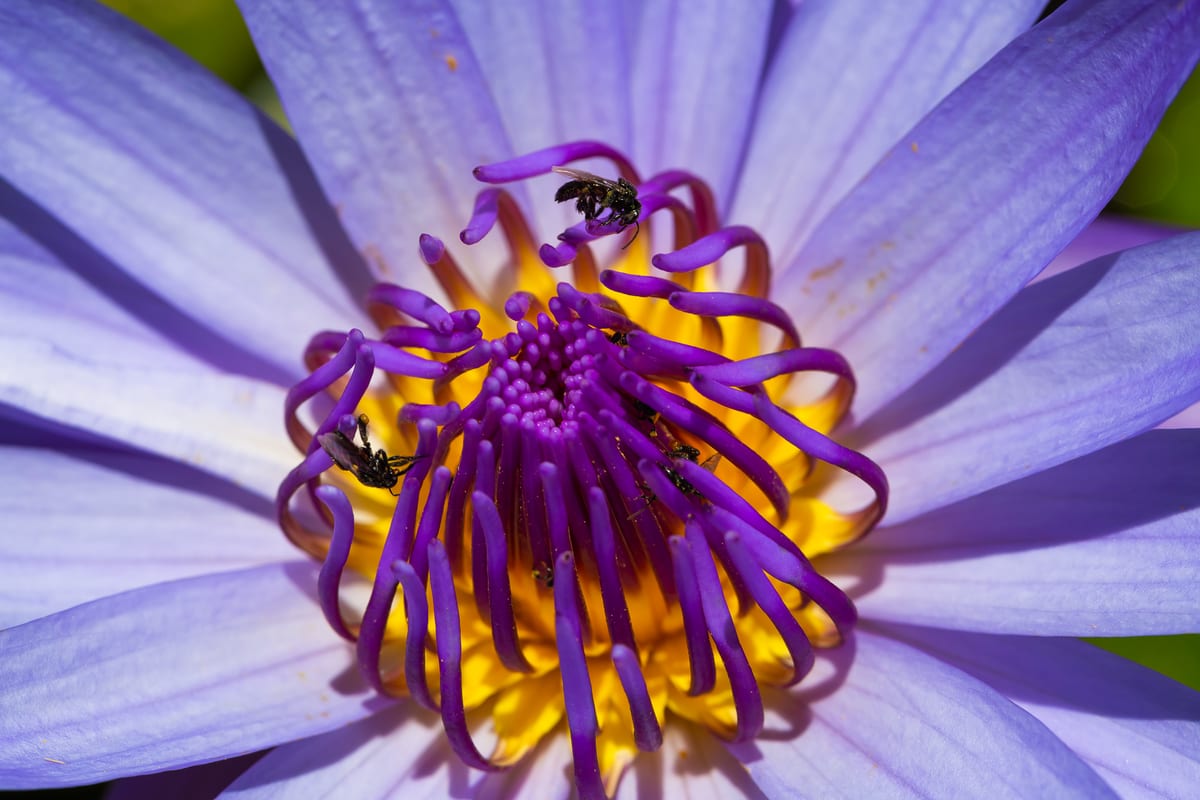
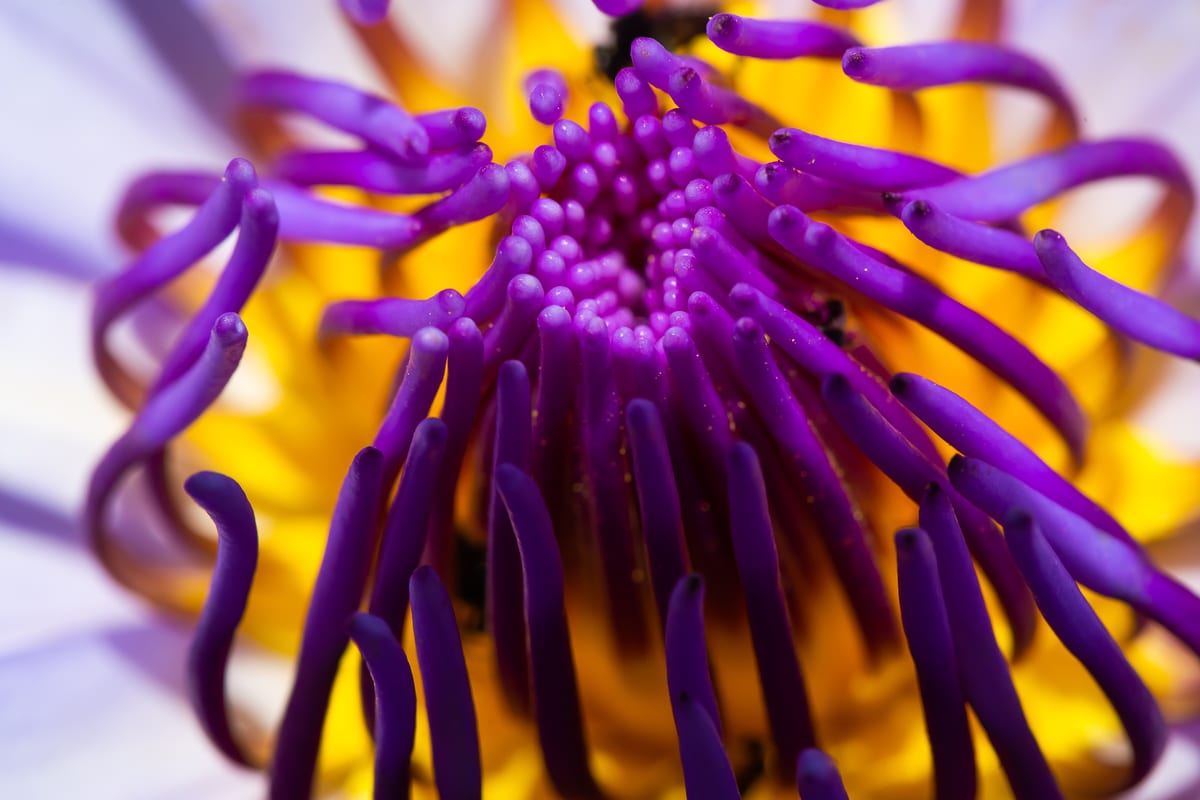
The water-lily sequence here moves from the flower in its surroundings towards its centre, where the smaller structures become the subject. Together the photographs could support a botanical description or an illustrated explanation of flower structure. They also show how photographs made for visual interest can later acquire a documentary purpose.
The same approach works for agricultural equipment, harvesting, sorting produce or the condition of a crop. The important point is to think about what the viewer will need to know before leaving the location.
The flower in its immediate surroundings.
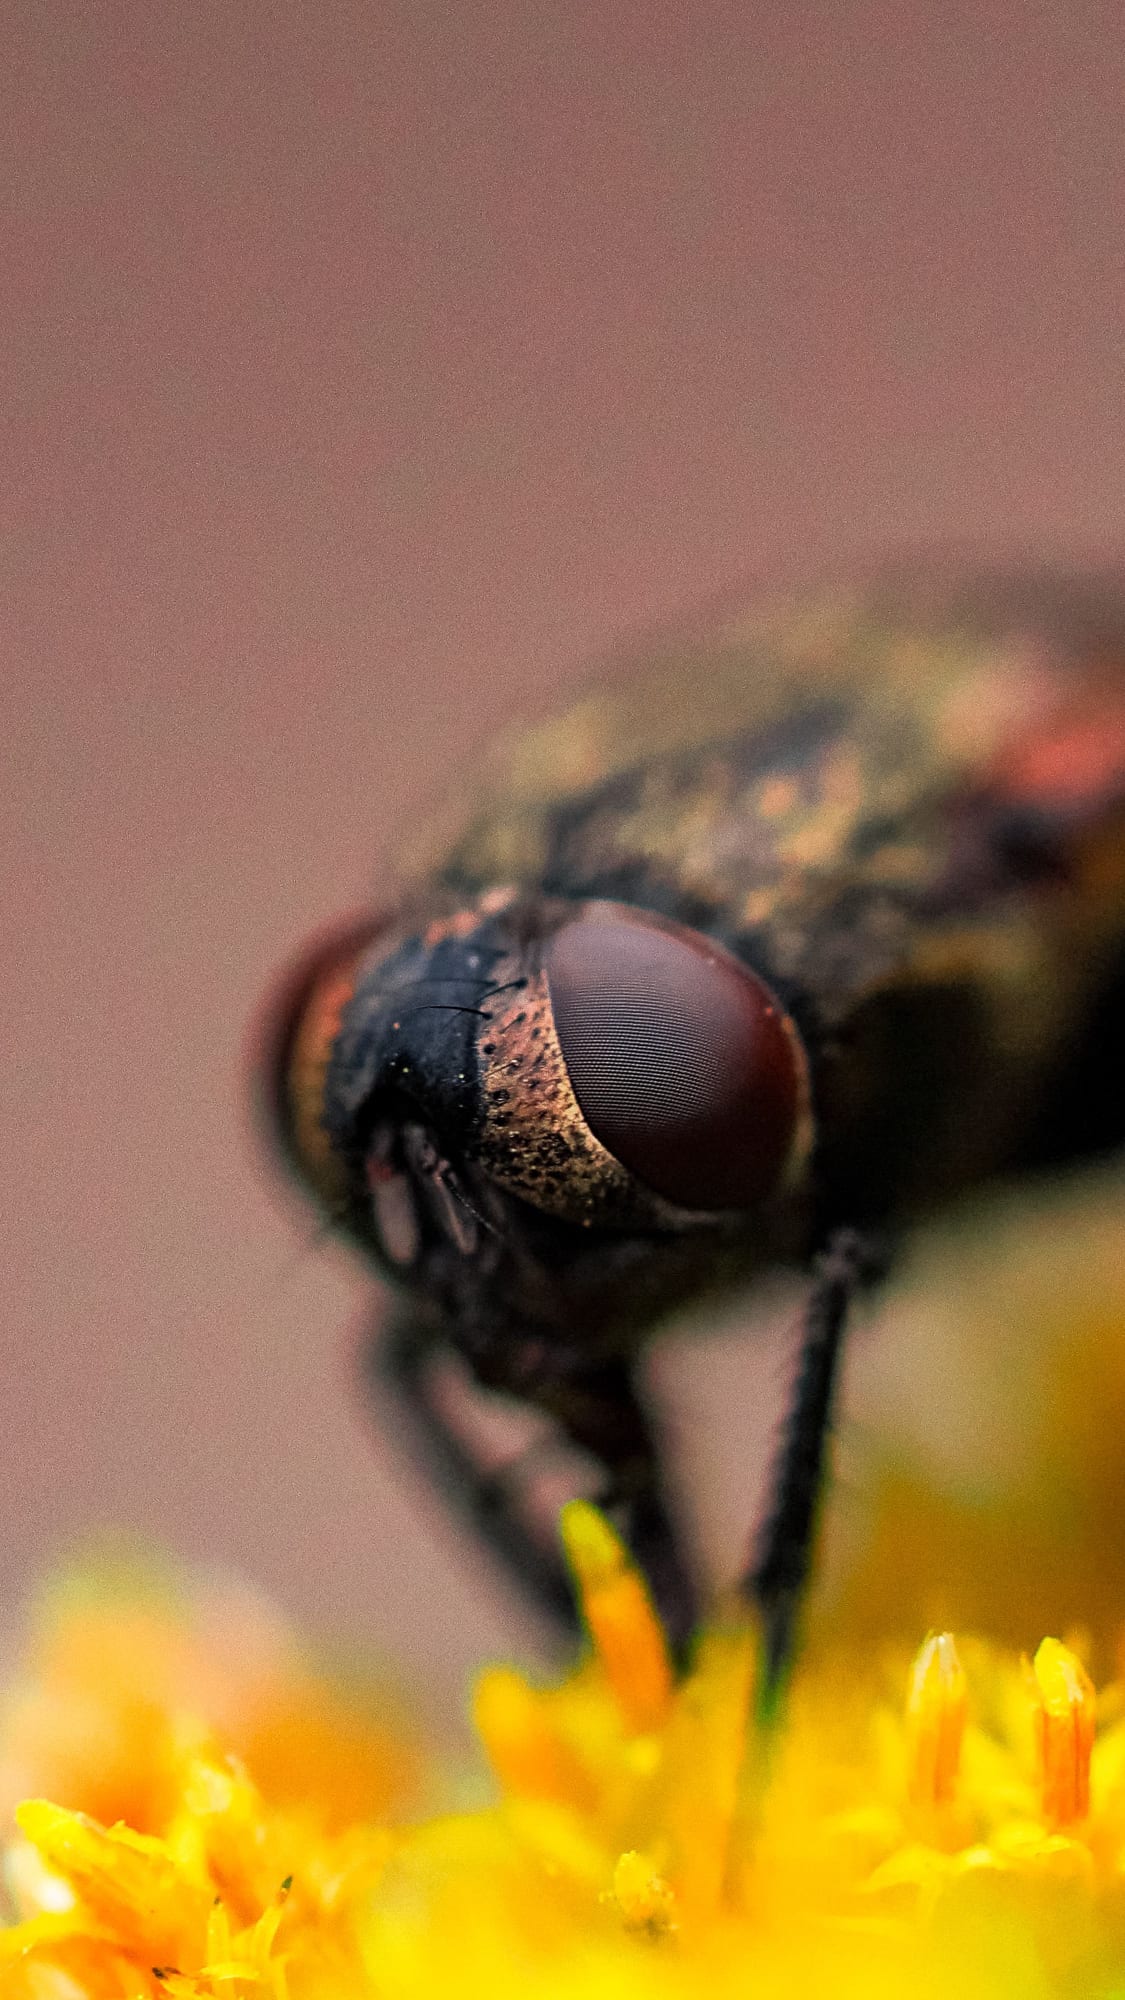
Close-up and macro
At life size, ordinary things become unfamiliar: the hairs on a stem, the facets of an insect's eye, the grain of a seed coat. Macro photography is as much about patience as equipment. The working distance, the light and the movement of the subject all have to be managed together.
For documentation, a macro photograph is most useful when it is accompanied by a wider view that shows where the detail came from.
Close-up of a fly on a yellow flower.. Reference photograph, Pexels
Macro examples
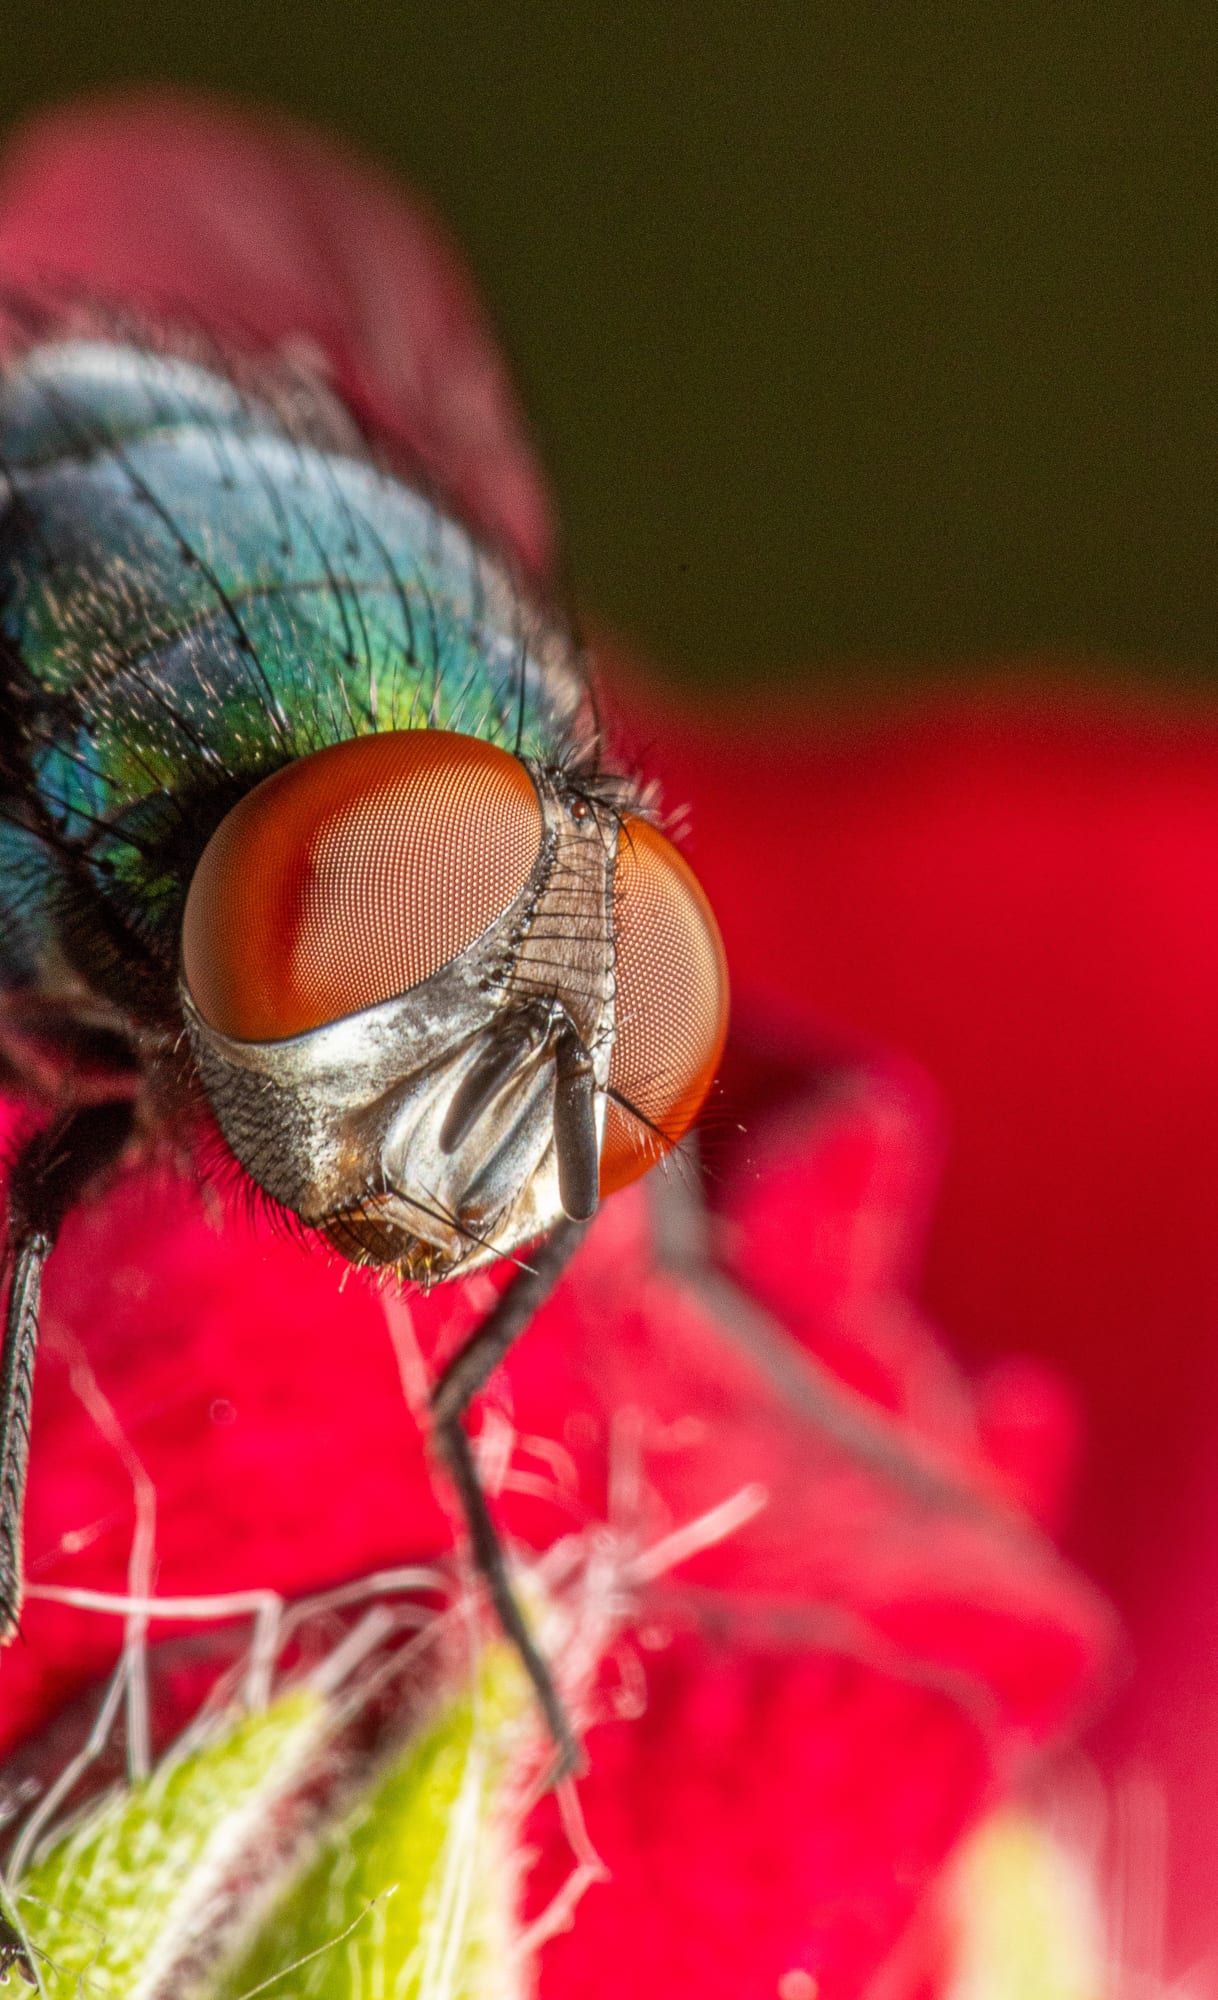
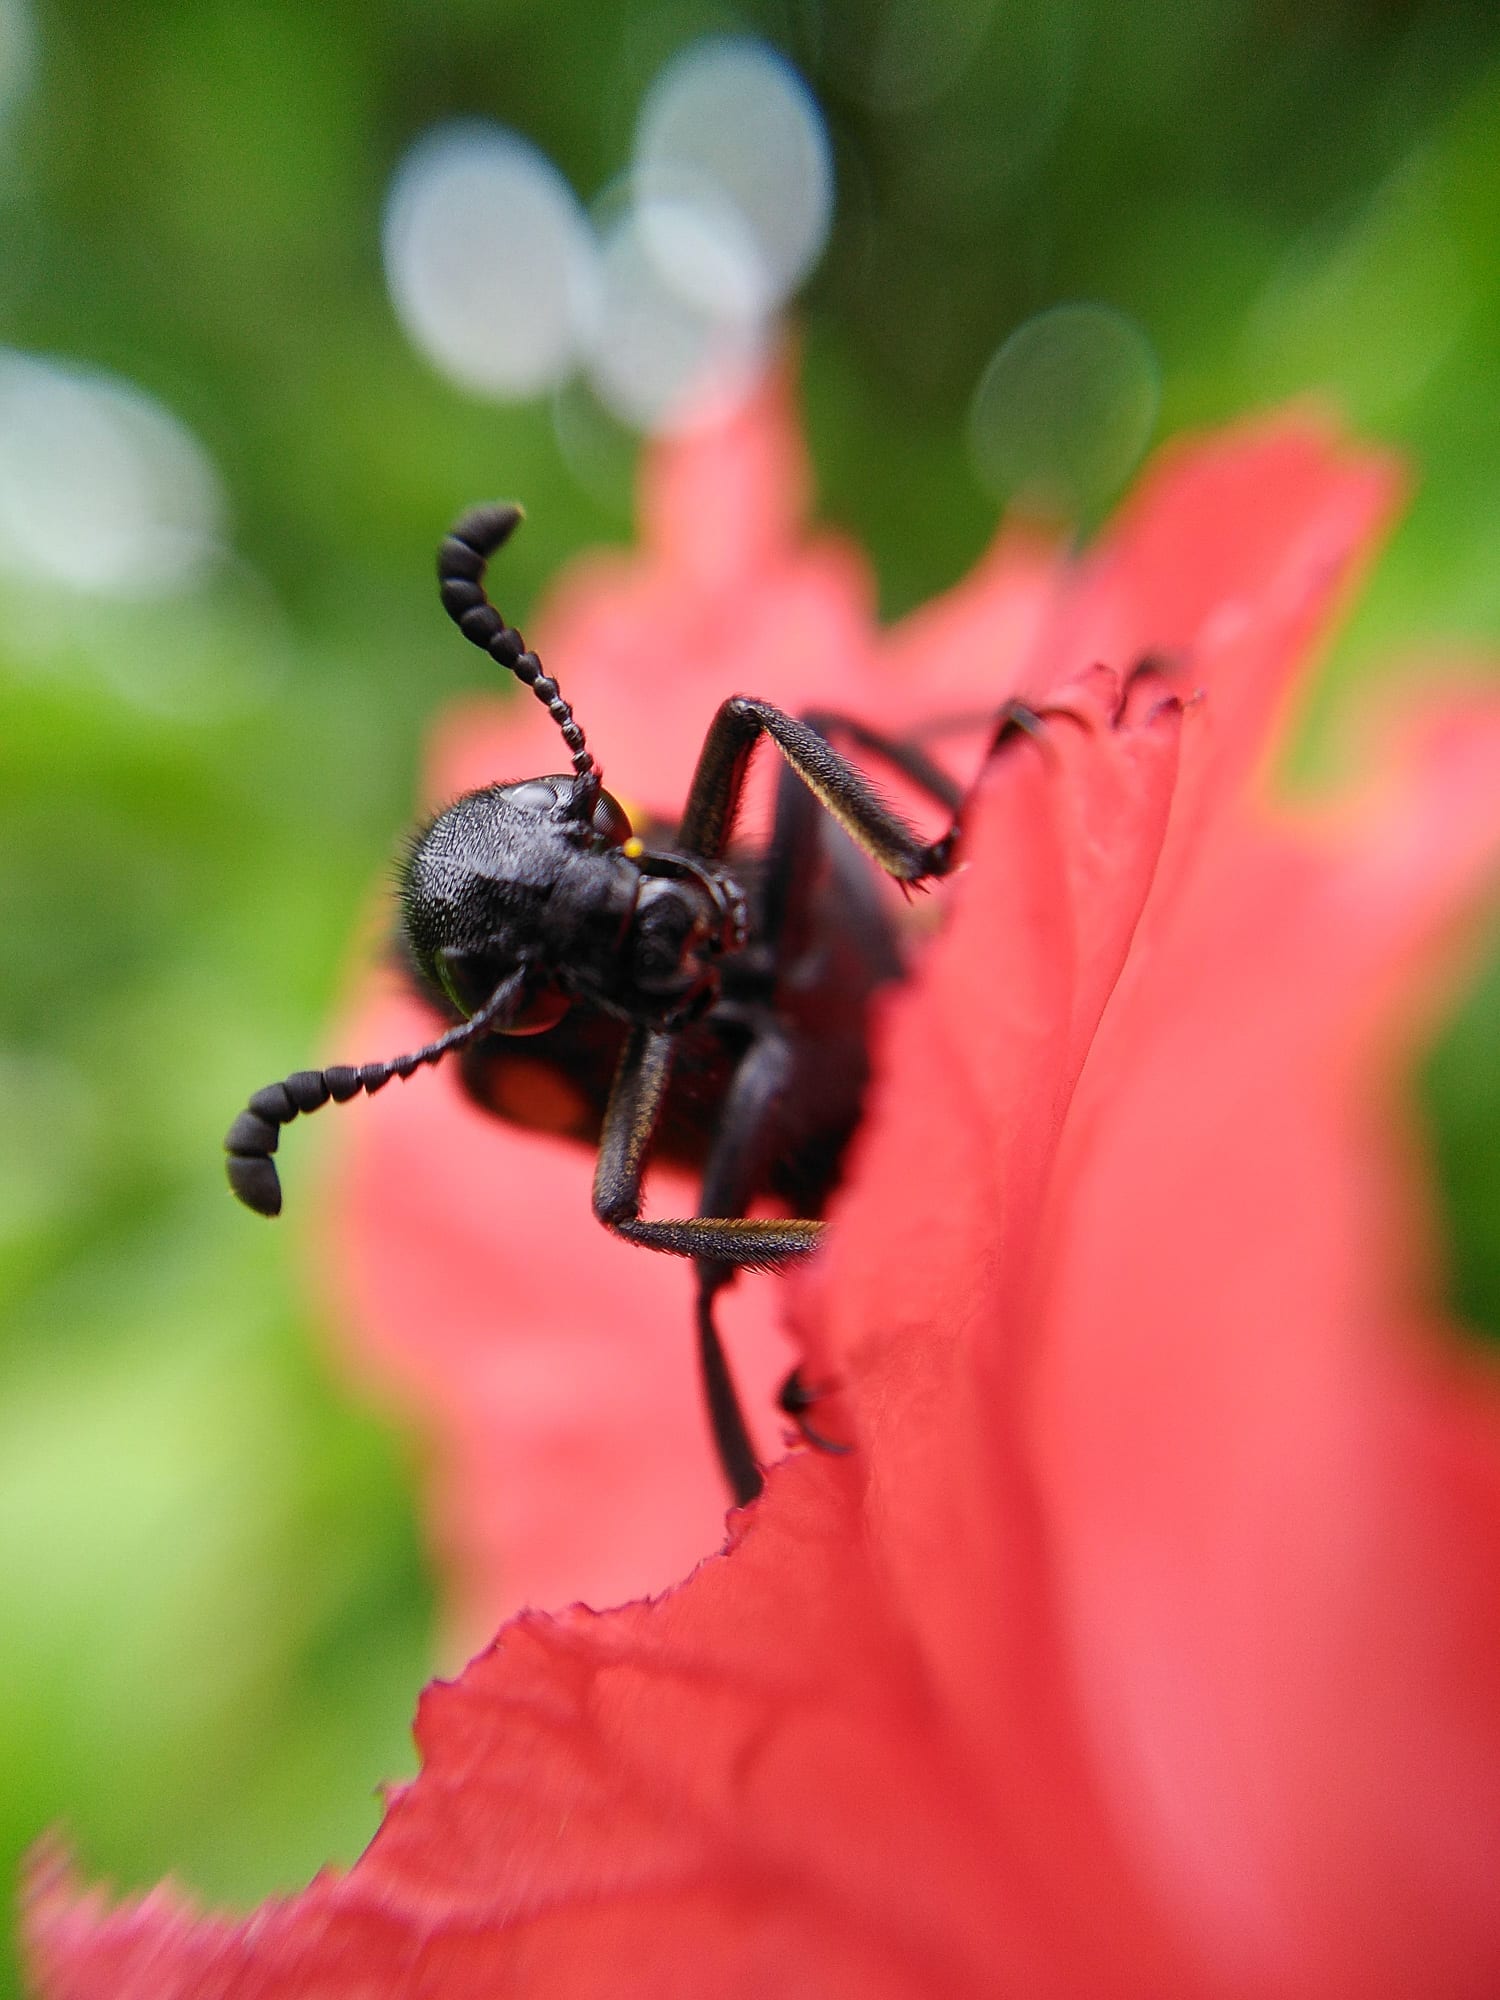
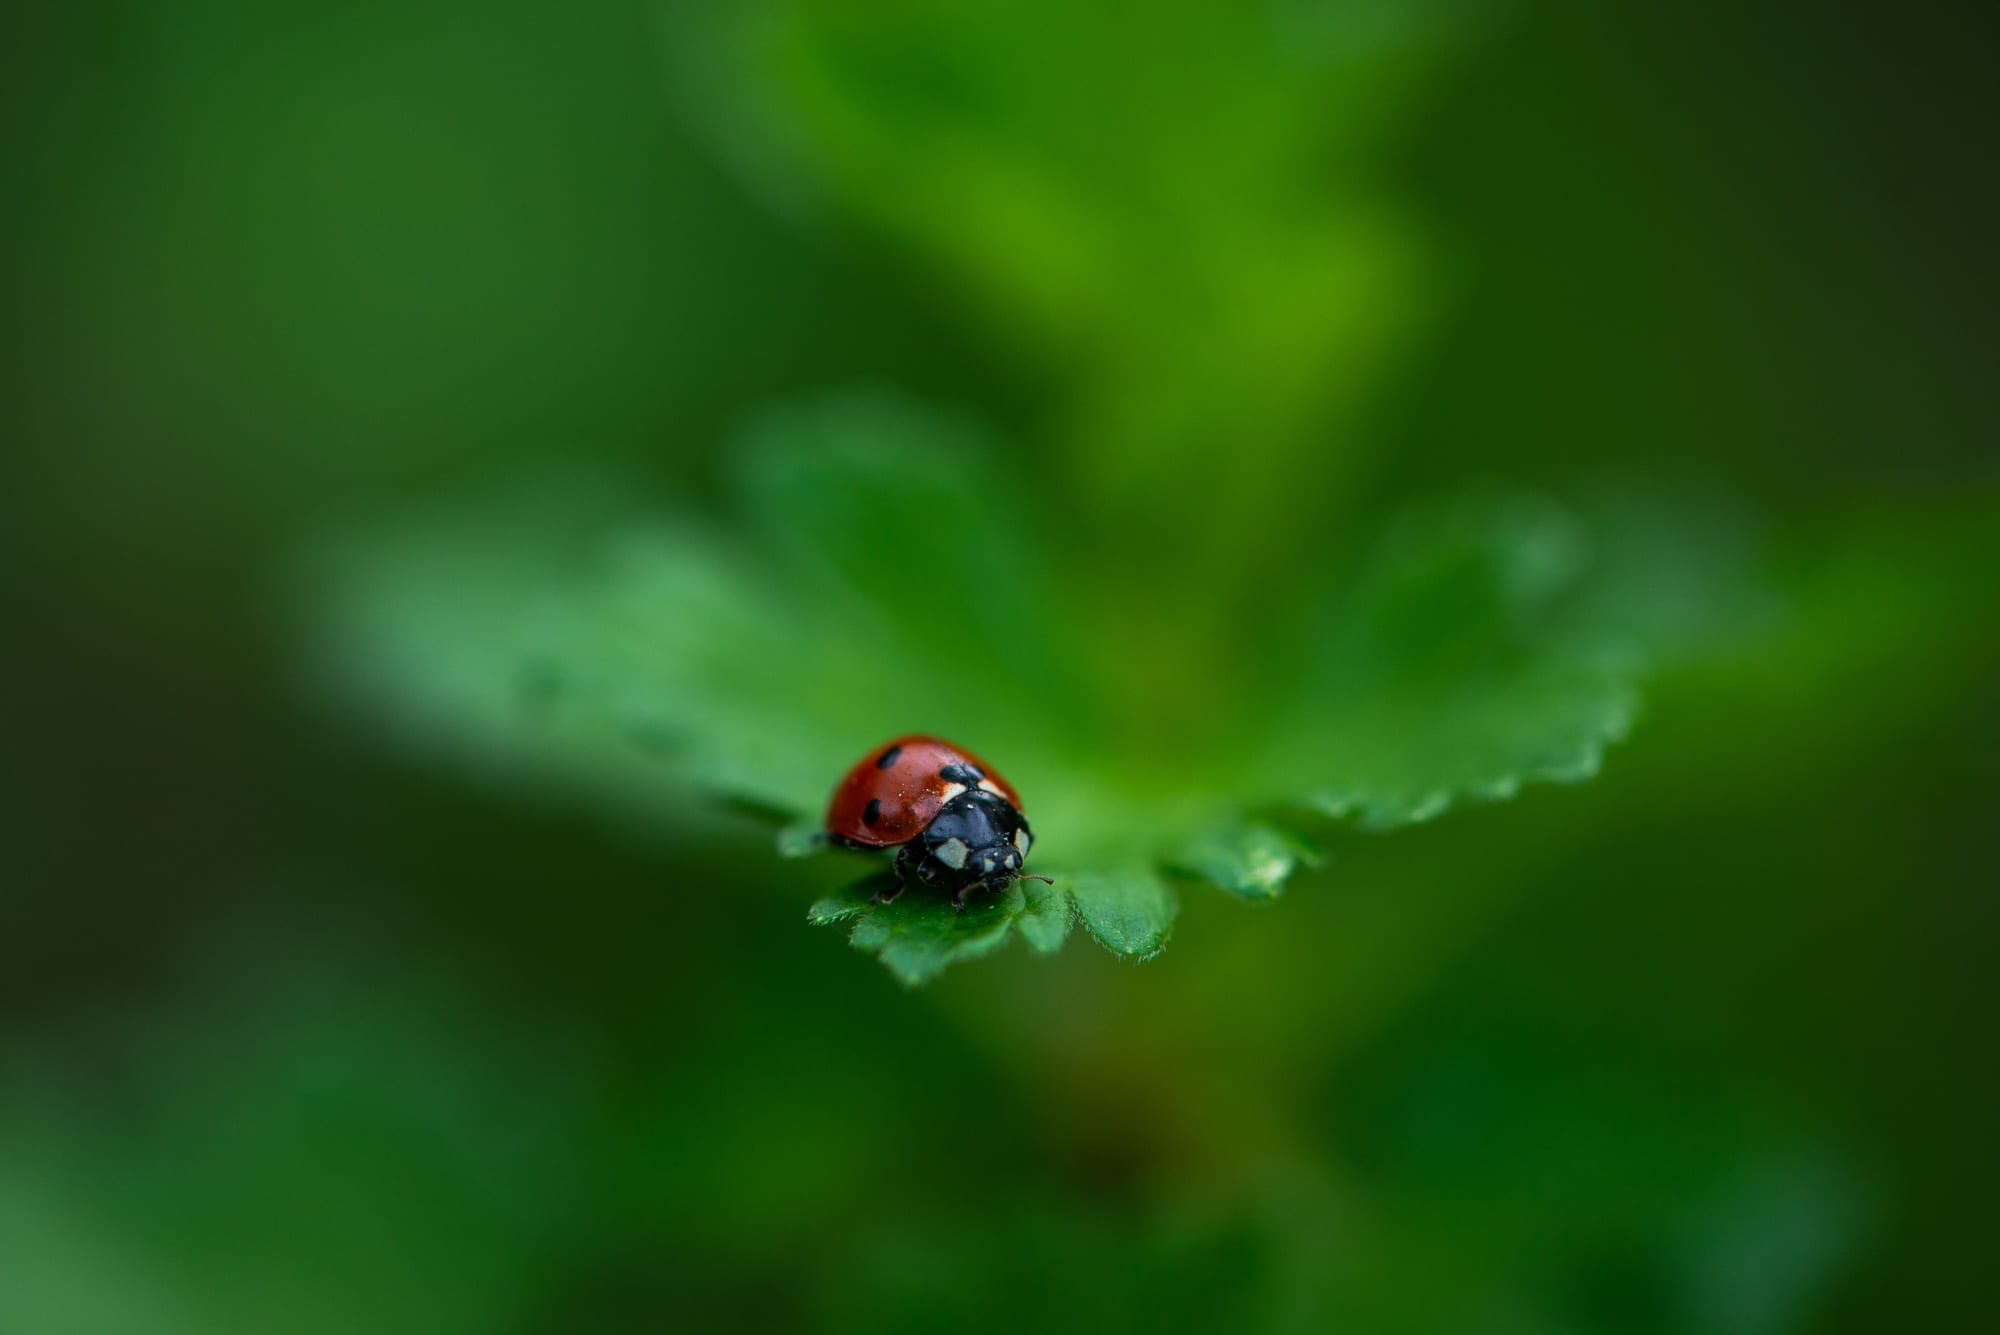
Reference photographs from Pexels are marked as such and will be replaced with my own.
Depth of field and bokeh
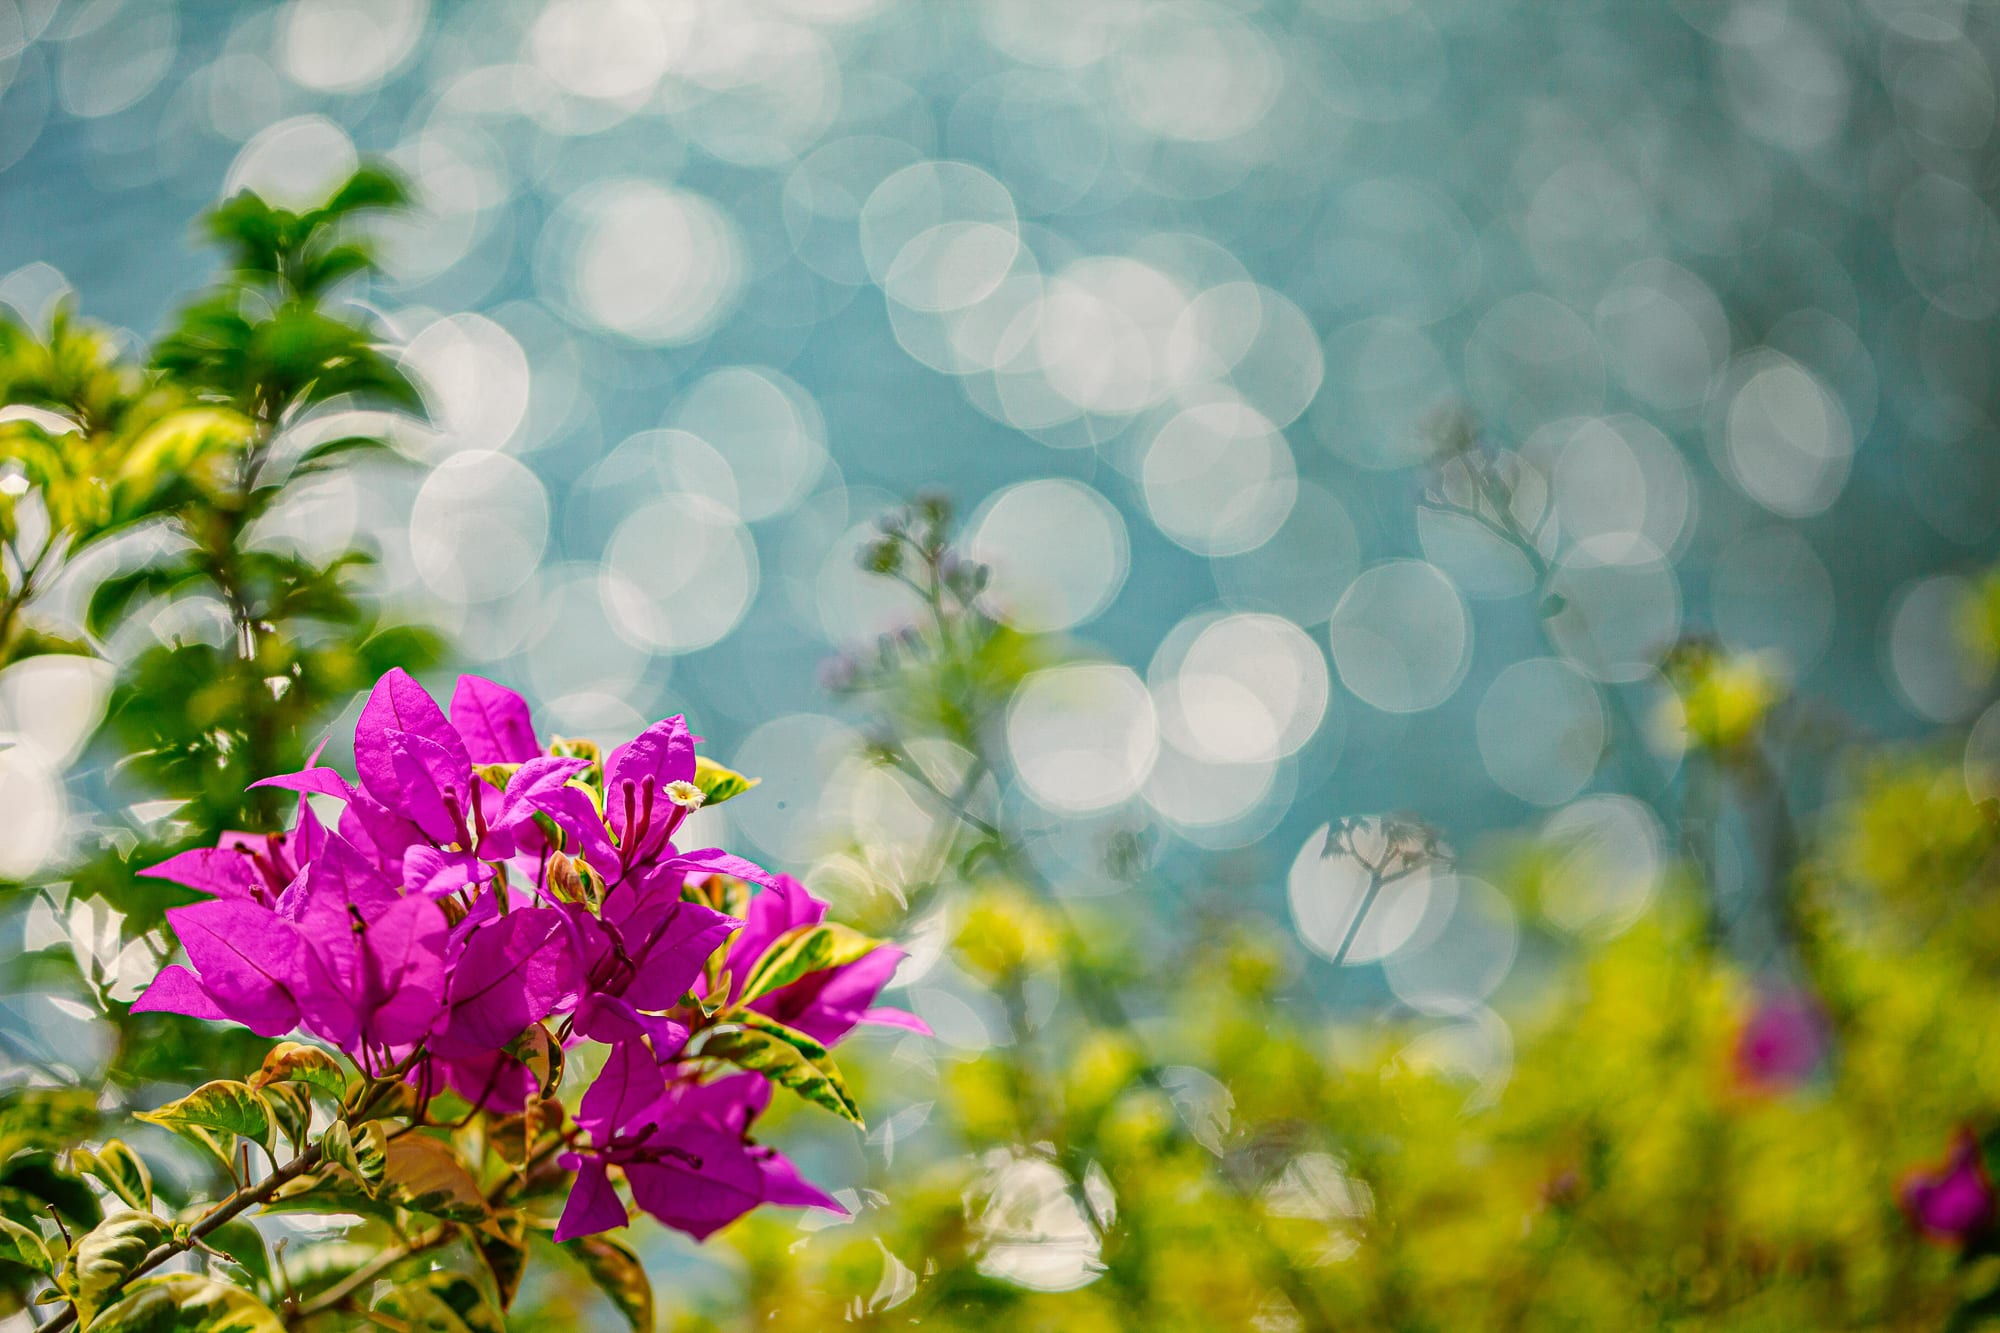
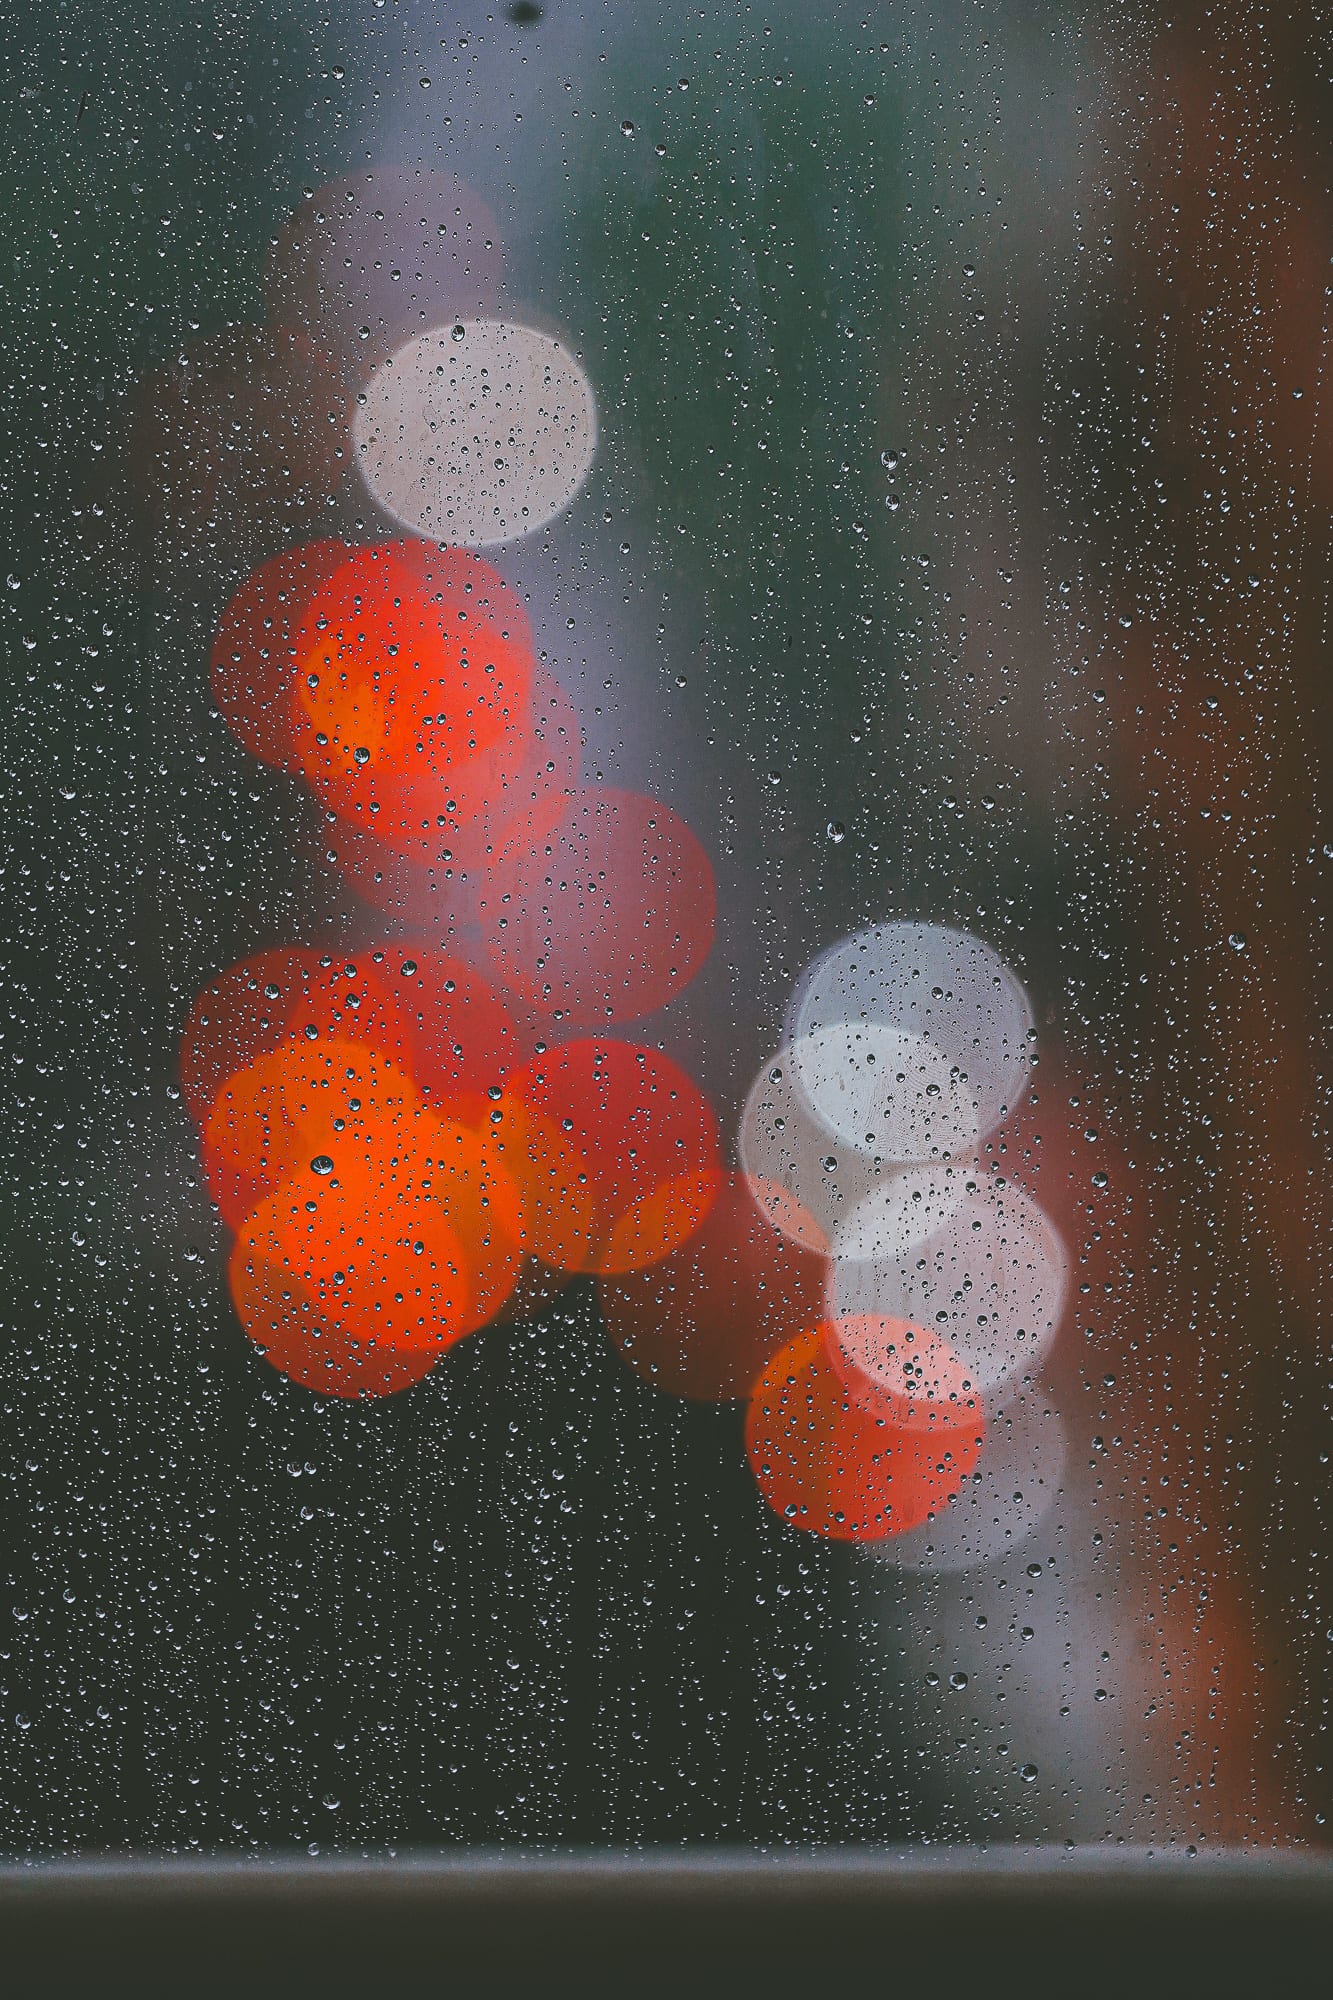
One of the most effective ways of making a subject clear is to control what surrounds it. A wider aperture reduces the depth of field, and placing the camera so the background is well behind the subject makes that background less distracting. The appearance of out-of-focus areas is usually called bokeh; highlights, foliage and reflections take on quite different forms depending on lens, aperture and distance.
In a nature photograph this gives a small flower or insect a distinct place in the frame. In an instructional photograph it directs attention to one part of the subject. It can also hide important information: when the purpose is identification or comparison, enough depth of field usually matters more than background blur.
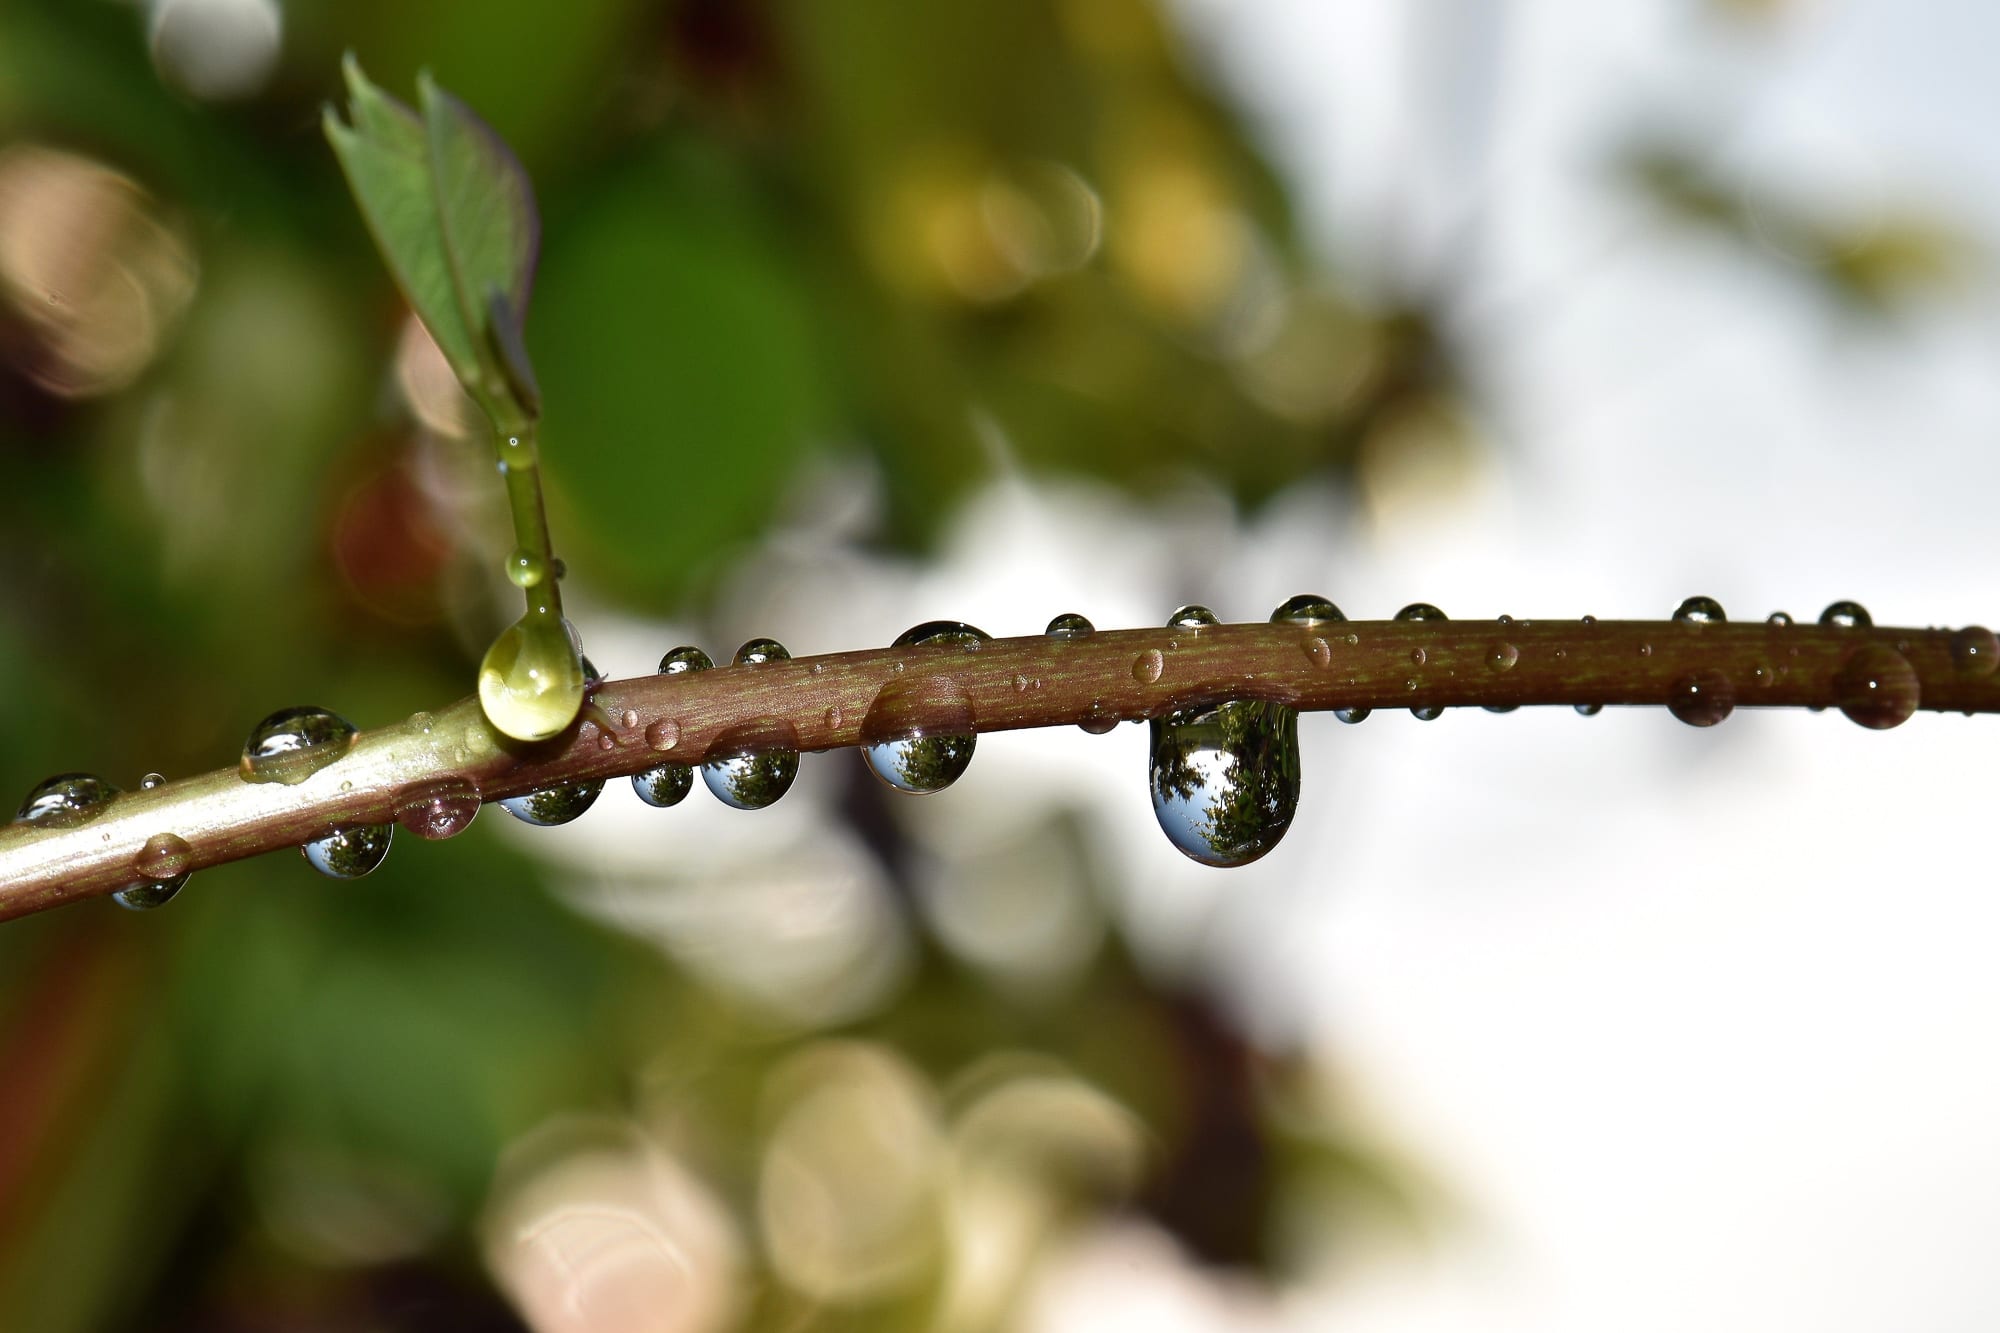
Water drops along a branch against a soft background.. Reference photograph, Pexels
Examples of selective focus
Reference photographs from Pexels are marked as such and will be replaced with my own.
Light, exposure and colour
Outdoors the quality of light changes through the day. Direct sun gives strong colour and definition but also deep shadows and reflective highlights. Light cloud, shade or a diffuser reveals subtler colour and surface detail. Glossy leaves and insects are particularly difficult when reflections hide the very features being photographed.
When colour matters, as when comparing harvested produce, I try to preserve the colour relationships of the scene. RAW capture, a suitable white balance and consistent lighting are the starting points, and a neutral reference improves repeatability. Colour in an ordinary web photograph should not, however, be treated as a laboratory measurement.
For moving subjects shutter speed is decisive; stabilisation cannot freeze the subject. For a still subject, a tripod and a slower exposure may be better. The right combination of aperture, shutter speed and ISO depends on the purpose of the picture and the available light.
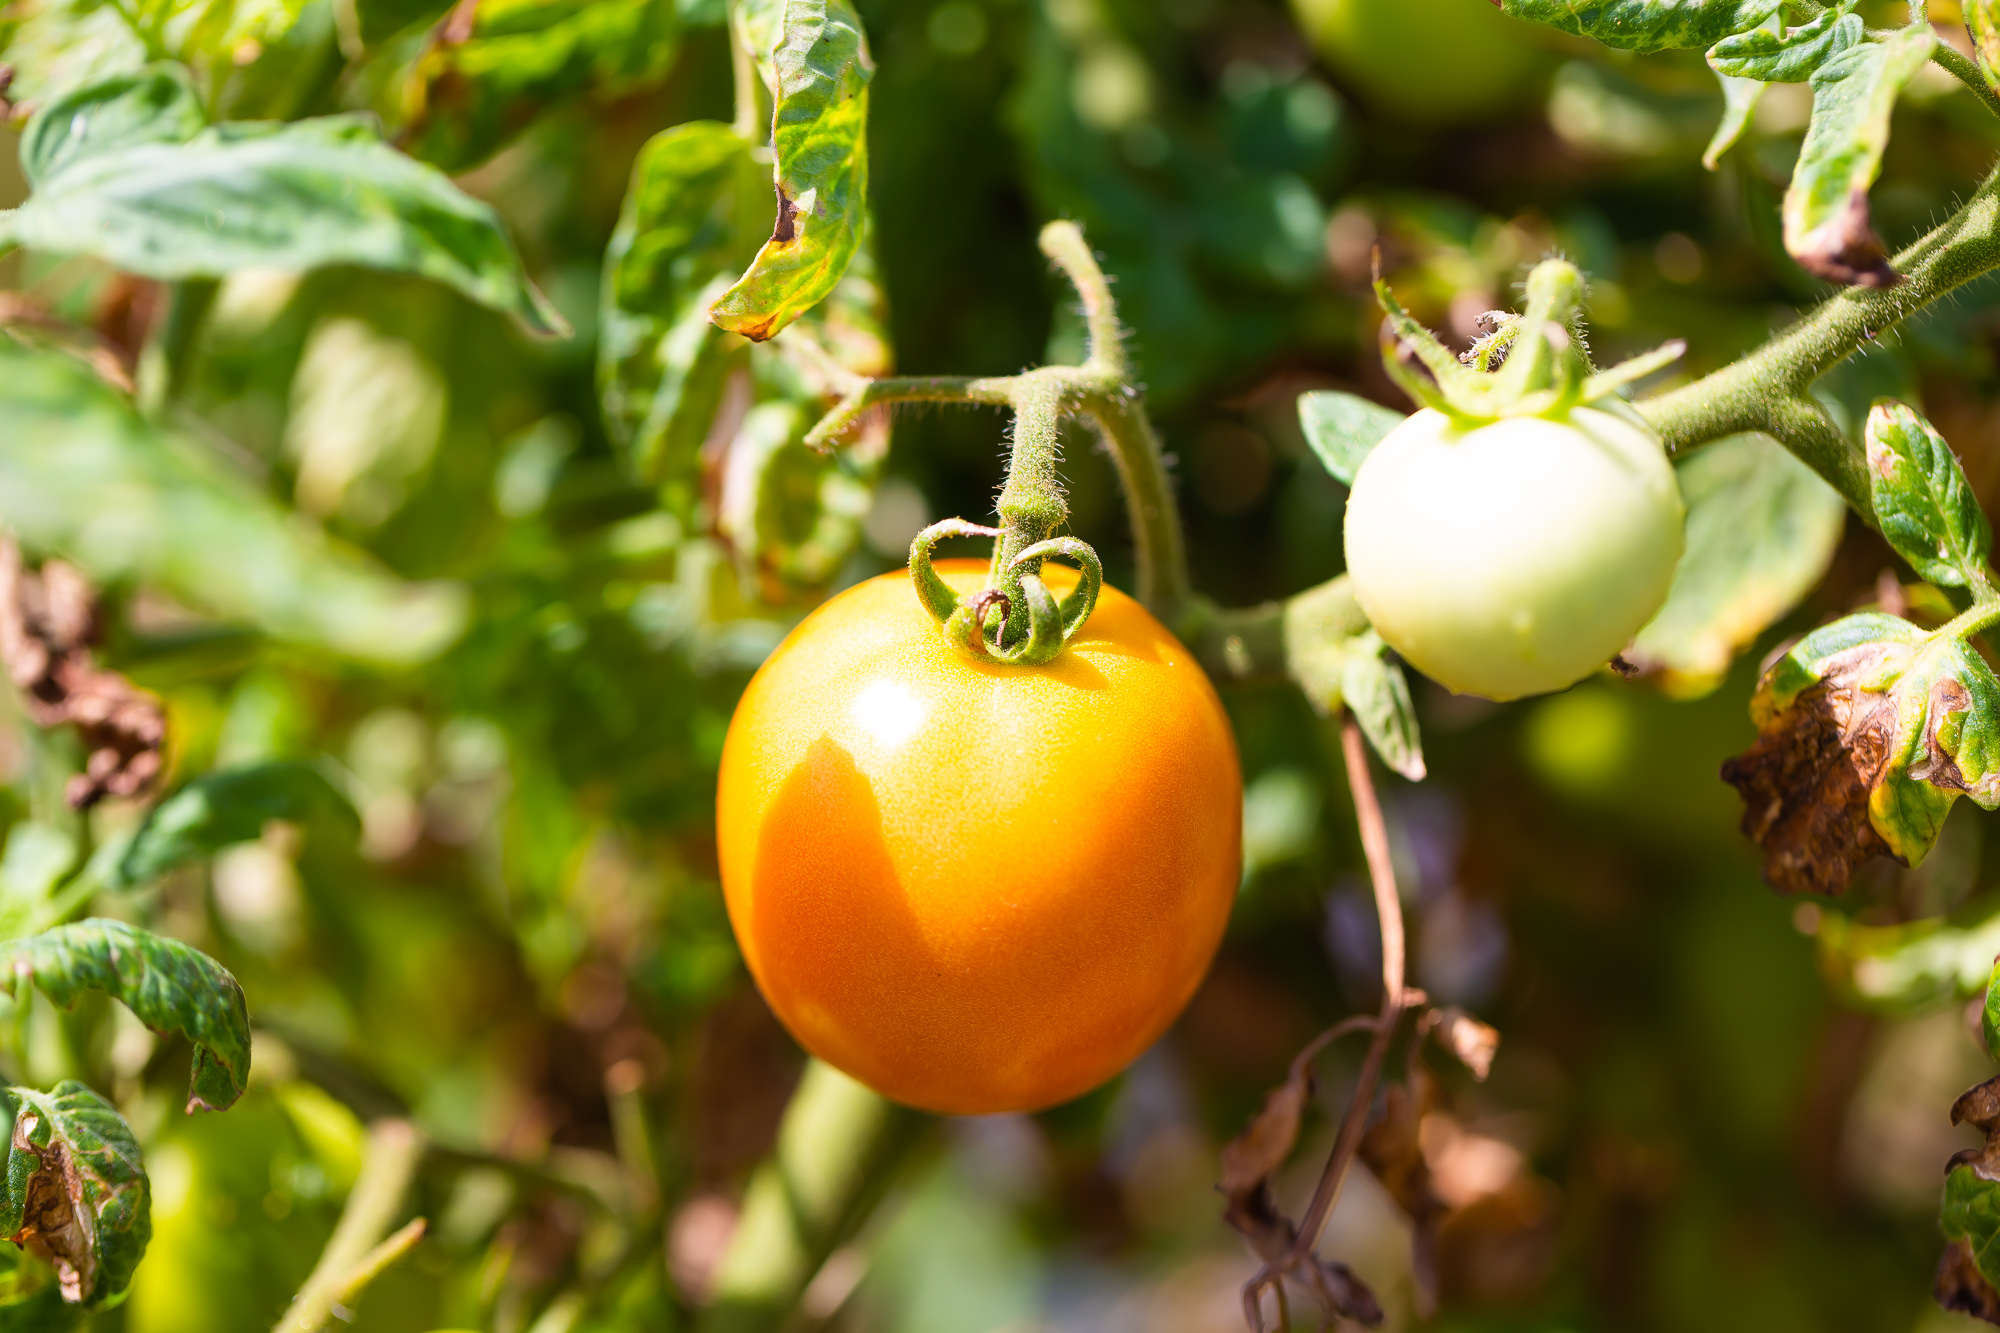
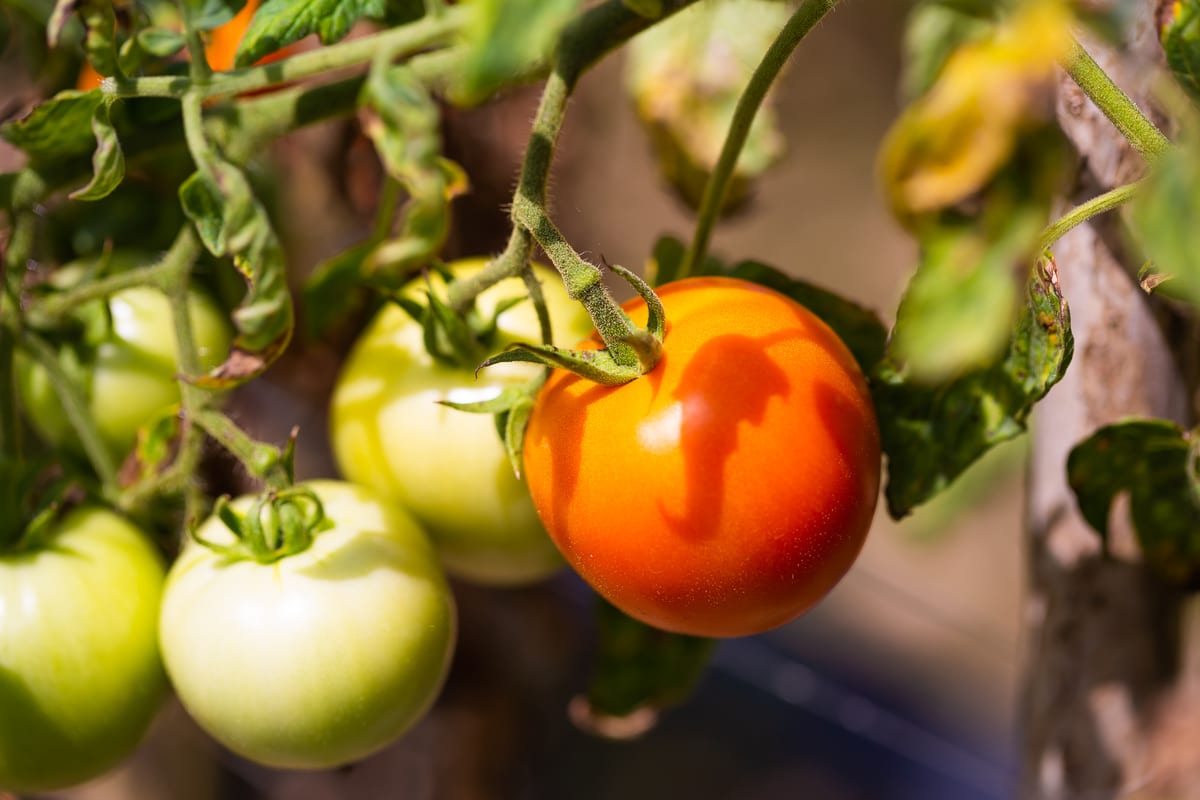
Tomatoes on the plant in direct light.

Wide views and environmental context
A wide view is often needed to understand the place in which a subject is found: how cultivated land meets its surroundings, the course of a river, or where a plant sits within its habitat. A carefully composed landscape gives context before a reader moves into detail.
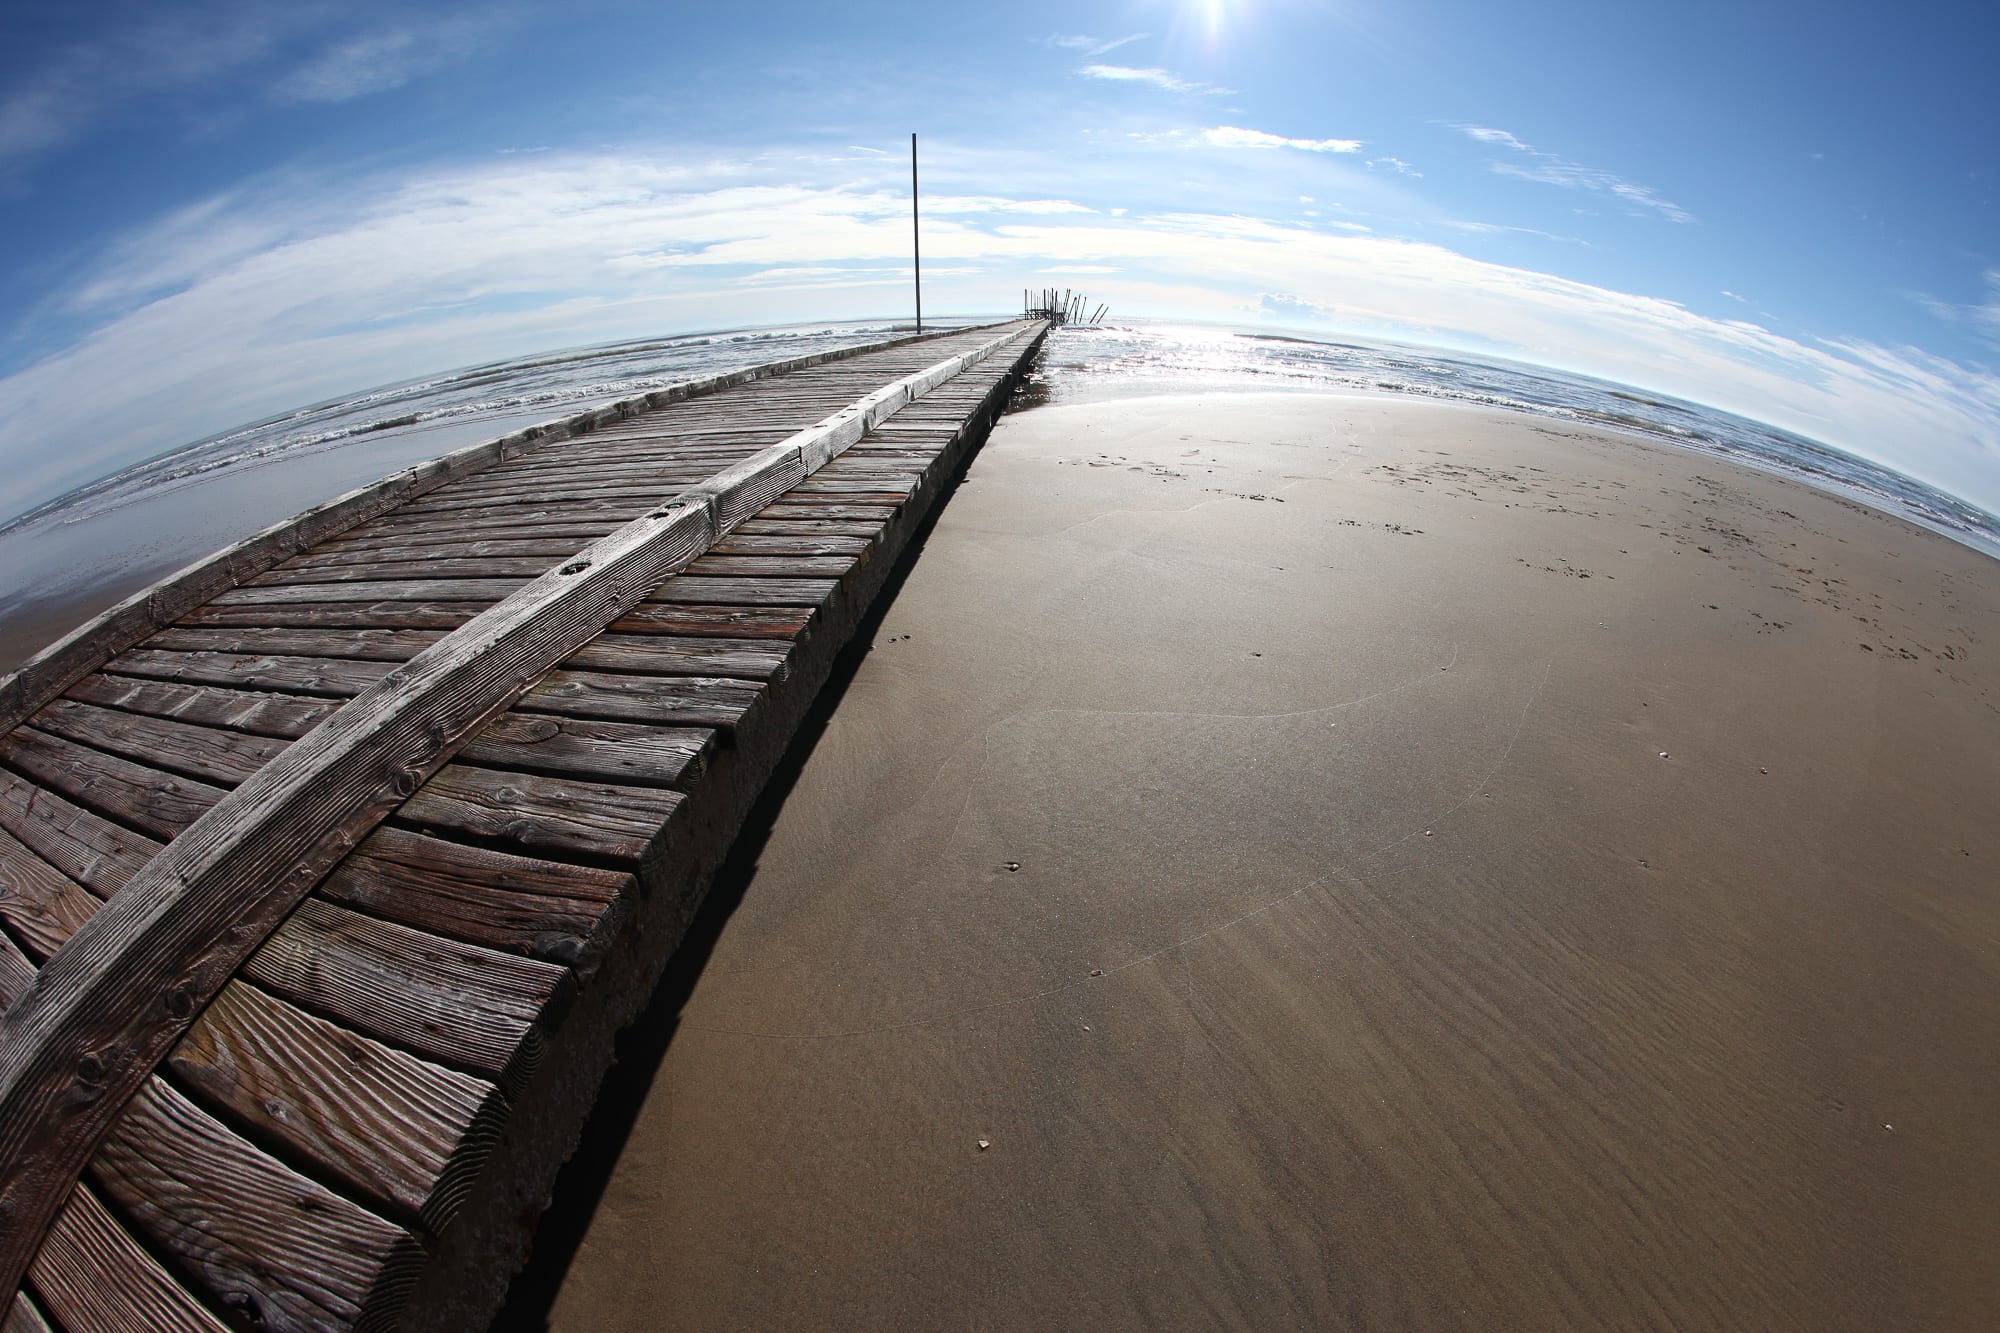
Ultra-wide and fisheye photographs are a different kind of image. They can be compelling, but their rendering of space and straight lines needs to be understood. For a site record or a physical layout, a conventional lens and a well-chosen position are usually better, and an image made with an unusual projection should not be mistaken for a measured survey.
A coastal view from the Natura archive.
Wide-angle examples
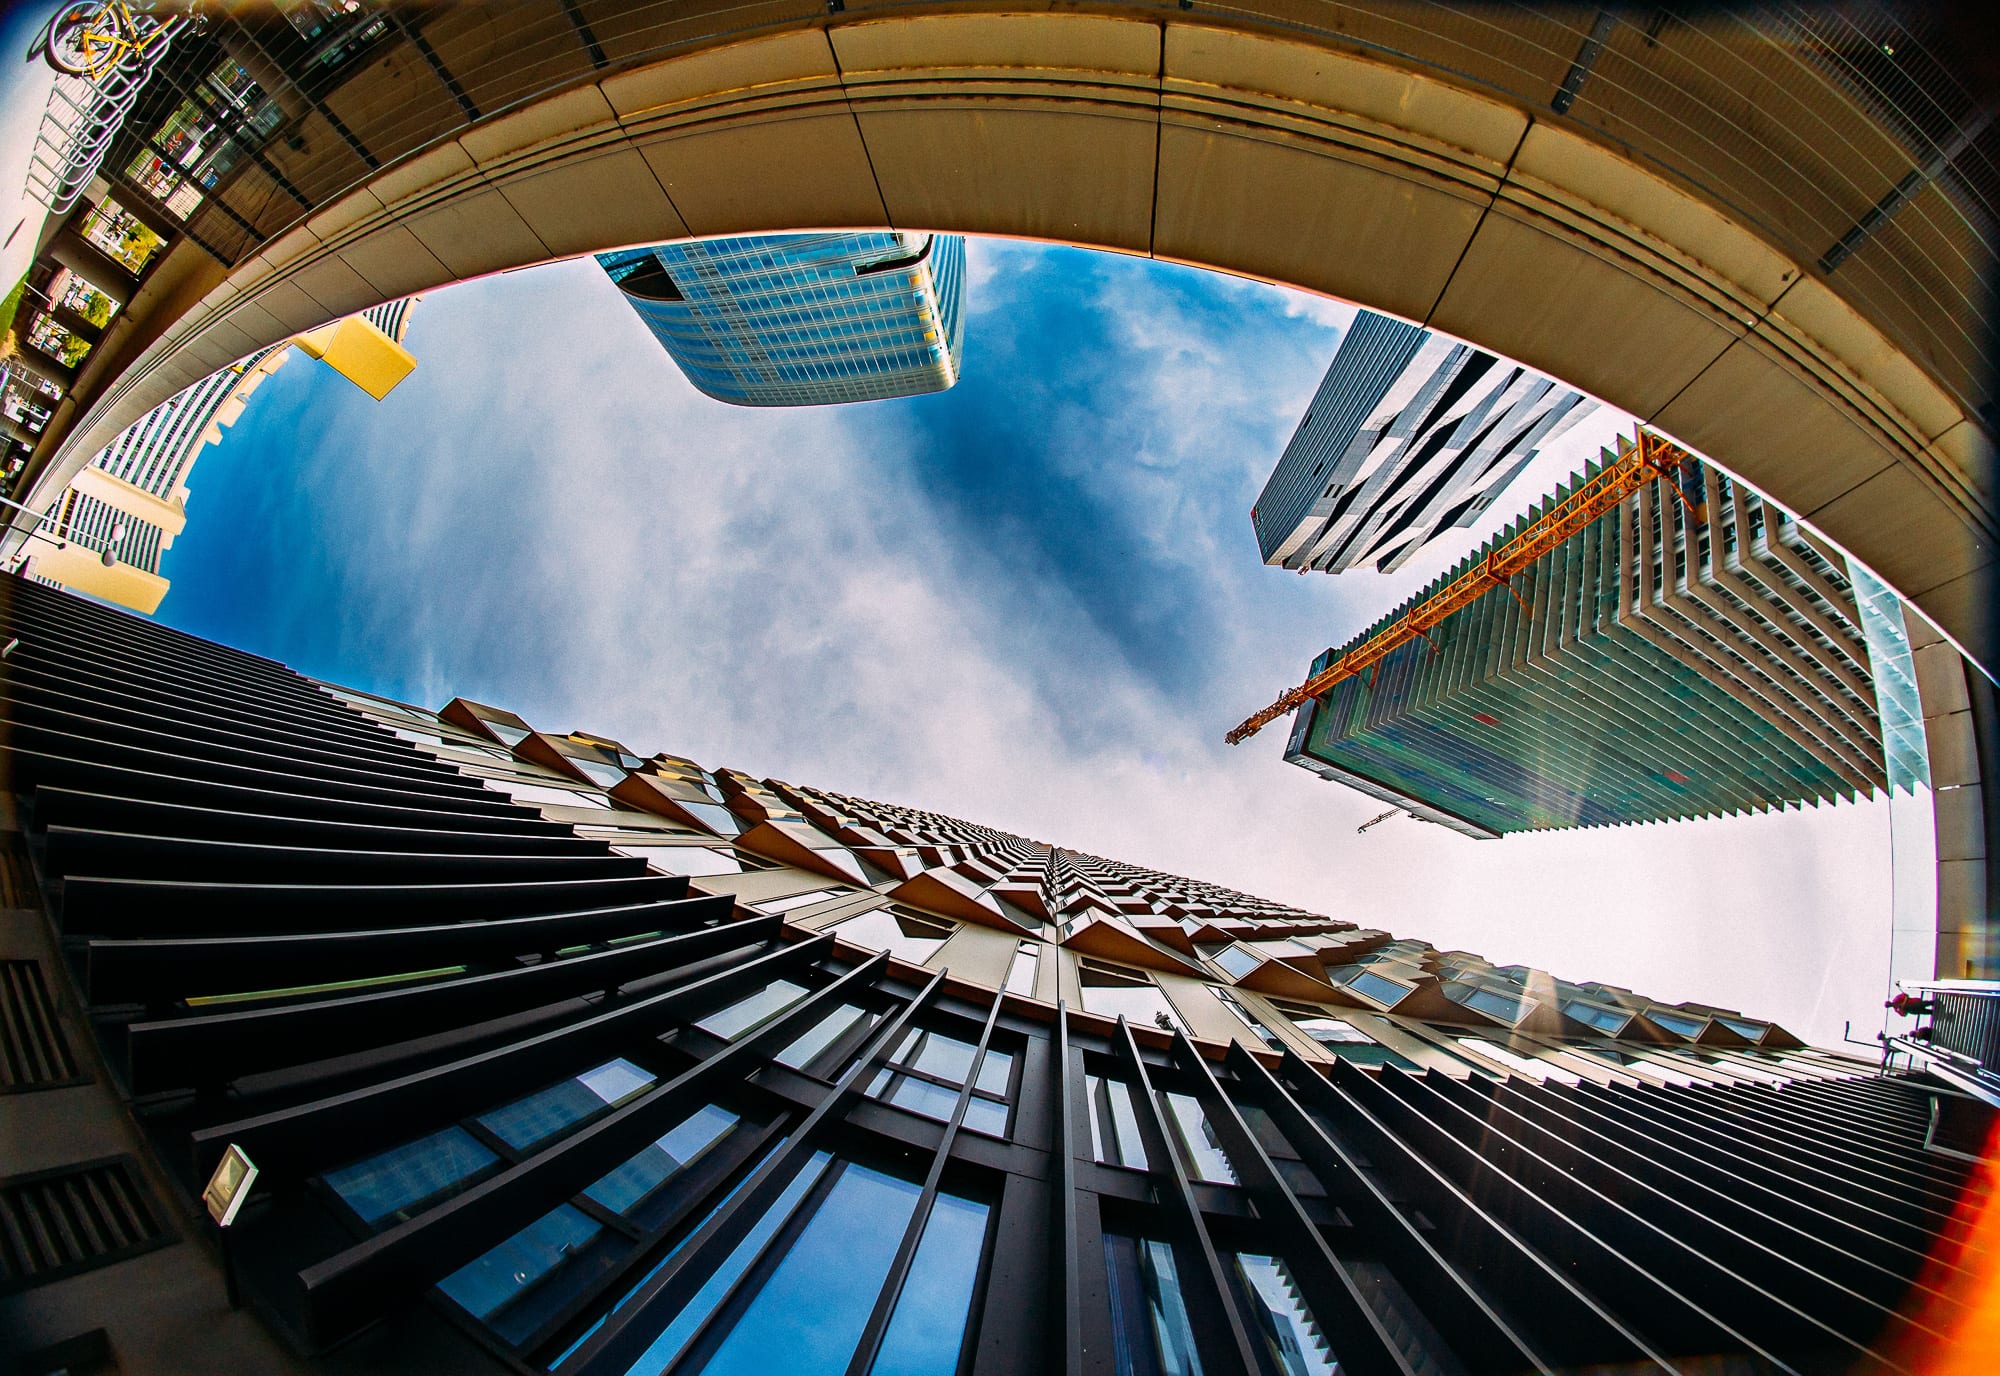
Reference photographs from Pexels are marked as such and will be replaced with my own.